Since R loves Despicable Me, he went as a minion! He already had a denim overalls so I bought a yellow tee in SM at Php100 and eyeglasses in Divisoria for Php35 then printed Gru's logo.

I also found a template online for the goggles that Minions wear!
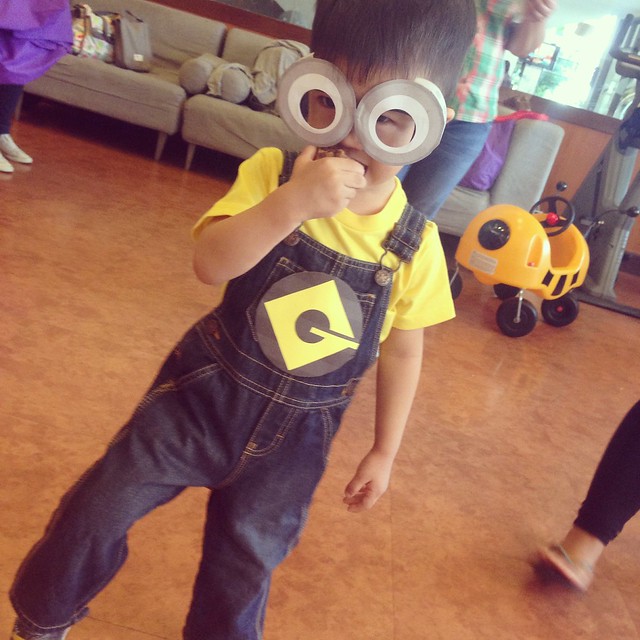
Bananaaaaaaaa! And he won one of the best costumes! Yay!!!
One of the things I was super excited about was the dessert buffet that Mish (of www.mommanmanila.com), Tina (of thephenomenalmama.blogspot.com) and I were tasked to set up! I was assigned on making bats, garlands, mummy milk bottles, cake stand and "BOO" made of out Oreos. All of these I made in a span of four days! They're very easy to make and I'm showing you how.
For the bats, I never thought it would be easy to make them. I looked for templates pa online! But easiest way is to fold a black paper in half, and cut! See photo below.
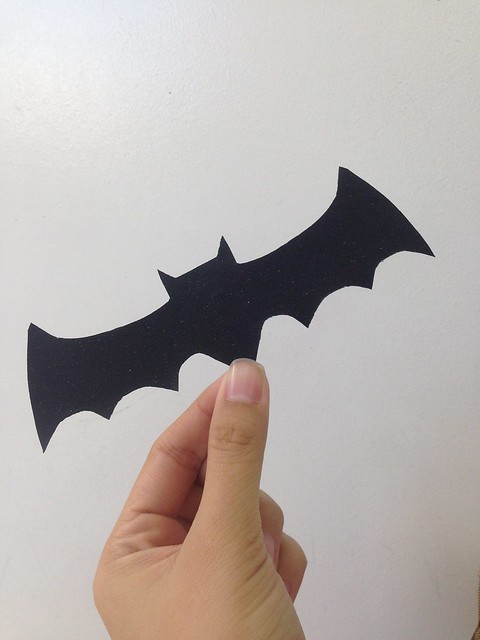
I didn't use a template , I just cut it in the shape of a bat I wanted it to.
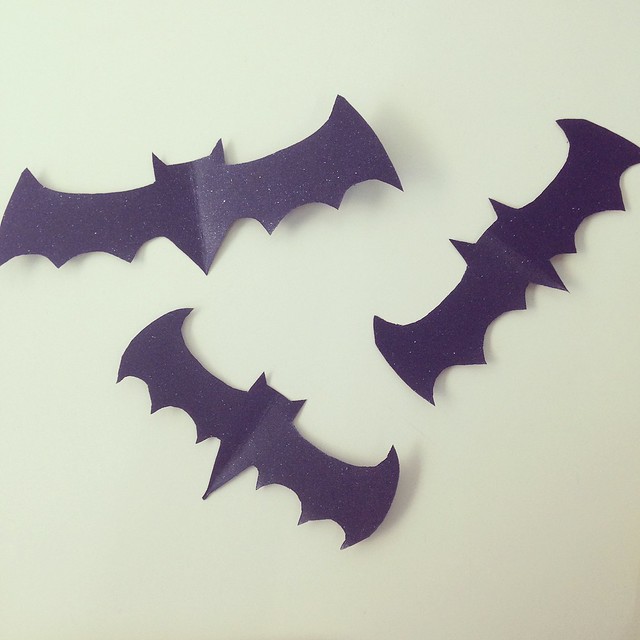
I made a total of 24 bats or more I think. No need for them to be perfect!
Next up is the garlands which is also easy to make. I don't have a circle cutter so I used my scallop puncher. If you don't any punches, you can always make round ones, use a glass or bowl you have at home to draw then cut! Iused specialty papers in black, orange, green, and purple plus white bond paper.

Best part is punching them! Then I used Paper Chic Studio's Halloween twine as the string.

The bats and the scallop garlands went up on the Halloween Tree!
Mish had the branches spray painted. There were also plastic ghosts, skeleton and pumpkins that went up to the tree!
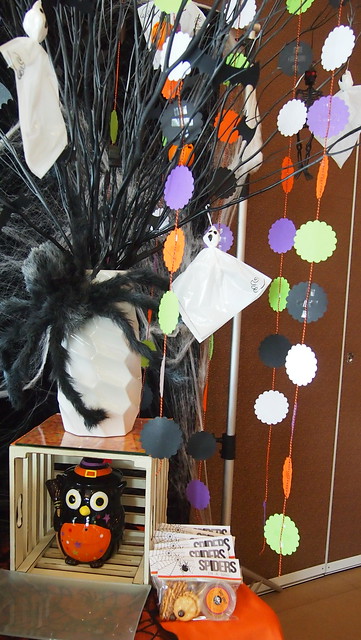
Mish also brought the crates, plates, owl and the spider! Well, she brought everything! I love how much she loves Halloween!
For the Mummy Milk Bottles, I used our Paper Chic Studio's milk bottles. For the wrap, I first used bond paper but found it too stiff. So I used tissue paper which made it look more mummy-like!
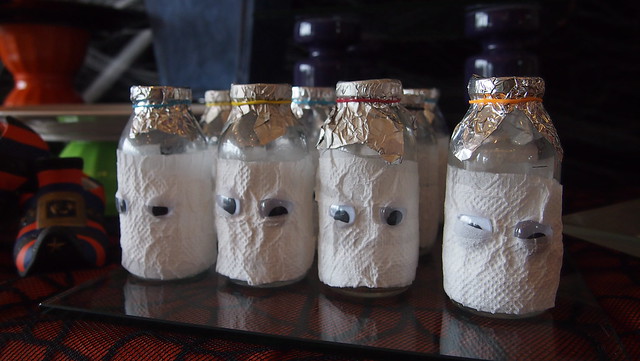
BOS helped me by tearing the tissue paper. I used glue to stick the ends. They eyes were bought in National Bookstore. The crumpled look was the effect after I sprayed glue/water solution to the bottles! The bottles came with no cover so I used aluminum foil as cover. I love how these Mummy Milk Bottles turned out!


Lime Green Paper Straw also from Paper Chic Studio. I filled the bottles with milk just before the kids attacked the dessert buffet.
The cake stand was one of the most fun craft to do. I really had no idea how to make it at first.
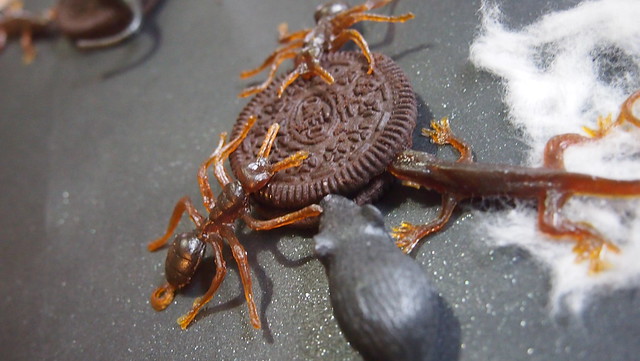
I got these plastic bugs at a sidewalk in Divisoria for 3pcs/Php10 with no idea on where to use them. Then Mish asked me to make a cake stand.
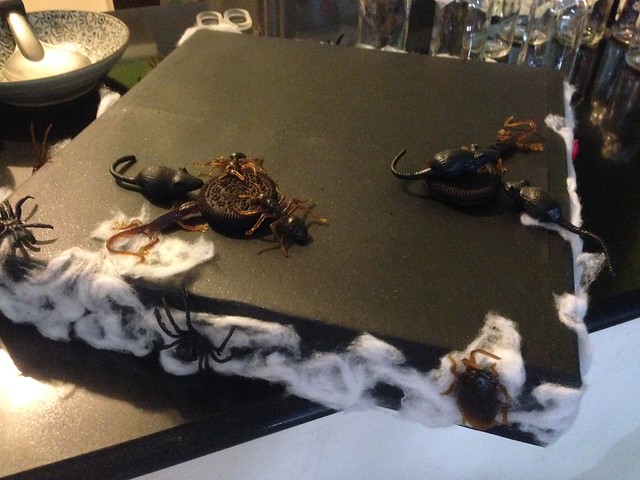
I bought 2 1x1x1 styro in National Bookstore and wrapped them in black . Then used cotton to make spider webs then stuck the bugs on the side. Bugs feasting on an Oreo is brilliant right? R cried when he saw the Oreo because he wanted to eat it. Well he ate a lot of the Oreos I was supposed to use. Hihi!

There goes my cake stand under a cake stand. Well, it's more of "patungan". Hihi!
And last but not the least of my DIYs is the Oreo BOO! This is the easiest! I used pizza box to make the letters I need, B O O. BOS helped me cut it out and Y helped me stick the Oreos to the cardboard.

The Oreos smell so good!
I really have to hand it to Mish for setting up an awesome dessert buffet spread. From the deisgn to executing everything and baking most of the treats!

From this...

To this...
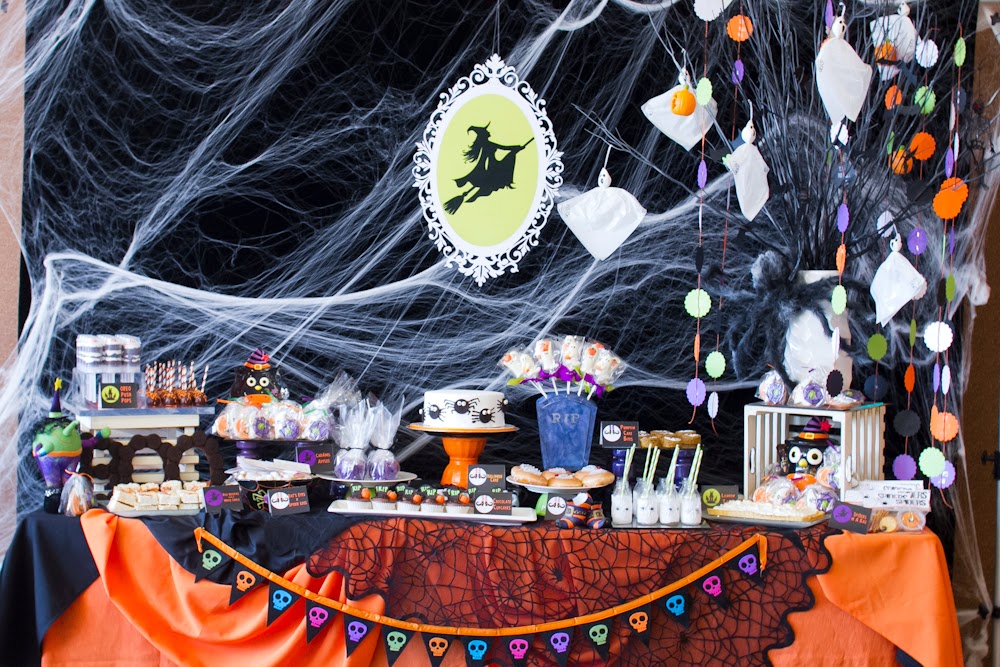
To THIS! It was a hit for both the kids and adults! Mish and Gia did a good job baking the treats!

There's the Oreo Cake Push Pops, Oreo Cake Pops, Rice Krispies dipped in White Chocolate, Sugar Cookies, Caramel Apples, Rats Eyes and Spider Legs, Choco Cupcakes, Halloween Cake, Doughnuts, Pumpkin Cake Bites, Ghost Chocolates, Lemon Tart and Spider Kit! Learn more about these desserts at Mish's blog!


The fun labels were made by Tina and you can get the free printables from here blog!

Thank you ladies for this super fun collaboration! Are we doing this again for Christmas?

Cool DIY!
ReplyDelete--- nhengswonderland.blogspot.com
This was such a fun Halloween celebration. It made it even more fun to collaborate with you and Tina :-) Let's start planning for Christmas!!!
ReplyDeleteThat looks super fun Cai!! :) I wish I weren't busy with my work events for Halloween so I can get to do that for my own setup or with friends :D
ReplyDelete